A man with lumbar spinal stenosis is touching his back.

spinal stenosis Exercises


Body Part:
Back/Lumbar Spine

Equipment:
None

Level:
Beginner

Roland Liebscher-Bracht in a white shirt is kindly smiling.

Roland Liebscher-Bracht

Germany’s trusted pain specialist

Read more

Subscribe to The Pain Relief Advisor

Roland Liebscher-Bracht is performing a pain-free exercise.

Sign up for our free newsletter & get expert pain management content delivered to your inbox every two weeks.

Subscribe now

Did this contribution help you?

Then we would be happy if you shared it with your friends:

7-Minute Lumbar Spinal Stenosis Exercises

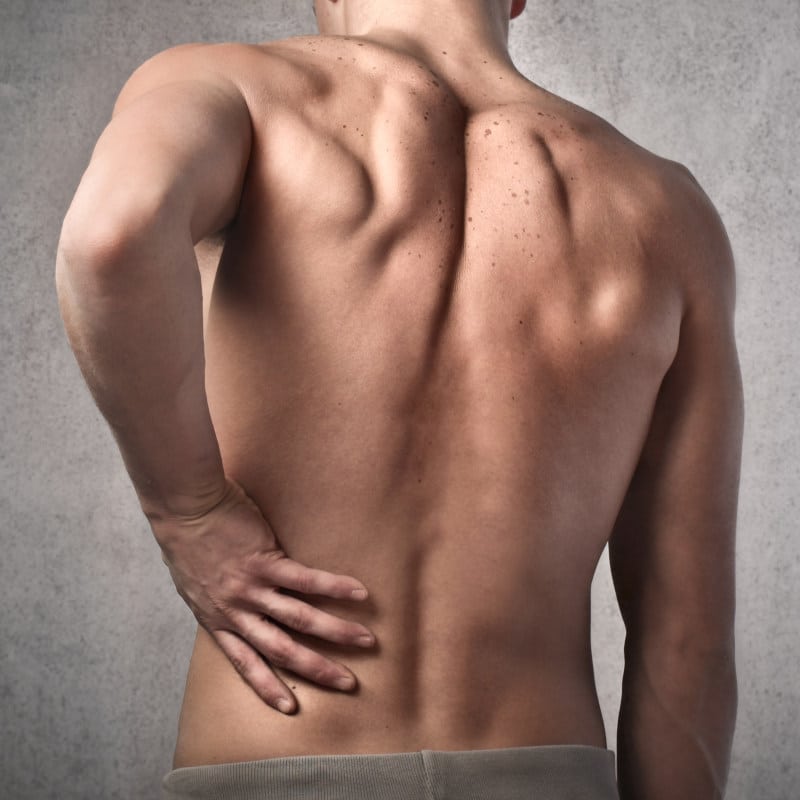
If you have lumbar spinal stenosis, you know the limits the condition can put on your lifestyle. One of the best and easiest ways to manage lumbar spinal stenosis pain is by doing exercises that change how your spine moves. We’ve developed a 7-minute lumbar spinal stenosis exercise that can help take the pressure off of your nerves and relieve pain in your back and legs. You don’t need any equipment, and you can do our lumbar spinal stenosis exercises anywhere. Keep reading to learn more about lumbar spinal stenosis.  You’ll find our exercise video and step-by-step instructions below.

What Is Spinal Stenosis?

Your spine is protected by the spinal canal. It starts at the base of your skull, runs the length of your back, and ends at your sacrum. The spinal canal is formed by the bones of your spine. Spinal stenosis occurs when the space in your spinal canal narrows and the spinal nerves are pinched or become irritated. The narrower the space in your spinal canal, the more irritation it causes the nerves. There are two types of spinal stenosis: lumbar (which affects the lower back) and cervical (which affects the neck).

What Causes Spinal Stenosis?

Osteoarthritis, the most common form of arthritis, occurs when the protective cartilage at the ends of your bones wears away. This causes your bones to rub against each other. The body responds by growing a new bone. These new bones are called bone spurs. If bone spurs grow into the spinal canal, the space will narrow and compress the nerves.

A bulging or herniated disc. Between each of your vertebrae is a rubbery disc that acts as a shock absorber. These discs are made up of a gel-like centre in a tough, rubbery covering. As we get older, the discs become less resilient and more prone to injury. If the disc tears or cracks and the centre squeezes through, the surrounding nerves can become irritated.

Other causes are: wear and tear to the spine from ageing, stiffened or thickened ligaments in your spine, or you were born with a spinal canal that is narrow.

If you have injured your spine or have scoliosis, you may be at risk for spinal stenosis.

What Are the Symptoms of Spinal Stenosis?

Symptoms of spinal stenosis include:

  • back pain,
  • leg pain,
  • numbness,
  • weakness,
  • or pain in your buttocks, hips, groin, legs, or feet. 

You may have difficulty walking or develop muscle cramps in your legs after standing for a long period of time. Symptoms may start slowly and get worse over time; standing and walking may aggravate your symptoms.

In some cases of spinal stenosis, there are no symptoms at all.

Fight Pain with Information.

Roland Liebscher-Bracht is performing a pain-free exercise.

Subscribe to The Pain Relief Advisor

Sign up for our free newsletter and discover how to manage your pain yourself. Every two weeks, we’ll deliver follow-along videos and articles to your inbox.

An icon with a scale, demonstrating the pain level of a person  Your Personal Pain Scale

While you are exercising, pay attention to your personal pain scale. This is your body's gauge that measures the intensity at which you exercise from 1 to 10. One would be like pushing your finger into your forehead. You'd feel a little pressure, but that's it. You've gone above a 10 if your breathing becomes irregular or you feel yourself tense up. For each exercise, aim for an intensity between 8 and 9. If you find that you are experiencing pain that's higher than 9, reduce the intensity so you can continue exercising without pain.
Roland Liebscher-Bracht is showing Ina how to bend backward from the waist.

Backward Bend & Lumbar Flexion Exercises

    • Stand up straight with your feet shoulder-width apart and place your hands on your lower buttocks.
    • Push your groin forward and bend your upper body back until you are looking at the ceiling.
    • You’ll feel a stretch in your pelvic area.
    • Hold for about 1.5 minutes and slowly come back up to a neutral position.
    • Bend forward until you feel a stretch in your lower back. Place your hands on your knees for support.
    • Bend further forward until you reach between 8 and 9 on your personal pain scale. How far forward you bend will depend on how flexible you are. 
    • Hold for about 1 minute and slowly come back up.
    • Place your hands back on your lower buttocks, push your groin forward and bend your upper body back until you are looking at the ceiling.
    • When you feel a stretch in your pelvic area, hold for about 1 minute.
    • Slowly come back up and finish.
    Ina is reaching her right hand over her head and bending her upper body to the left.

    Side Stretch

    • Reach your right hand over your head and slowly bend your upper body to the left.
    • You’ll feel a stretch along the right side of your rib cage and upper thigh.
    • Intensify the stretch to between 8 and 9 on your personal pain scale by sliding your left hand down your leg.

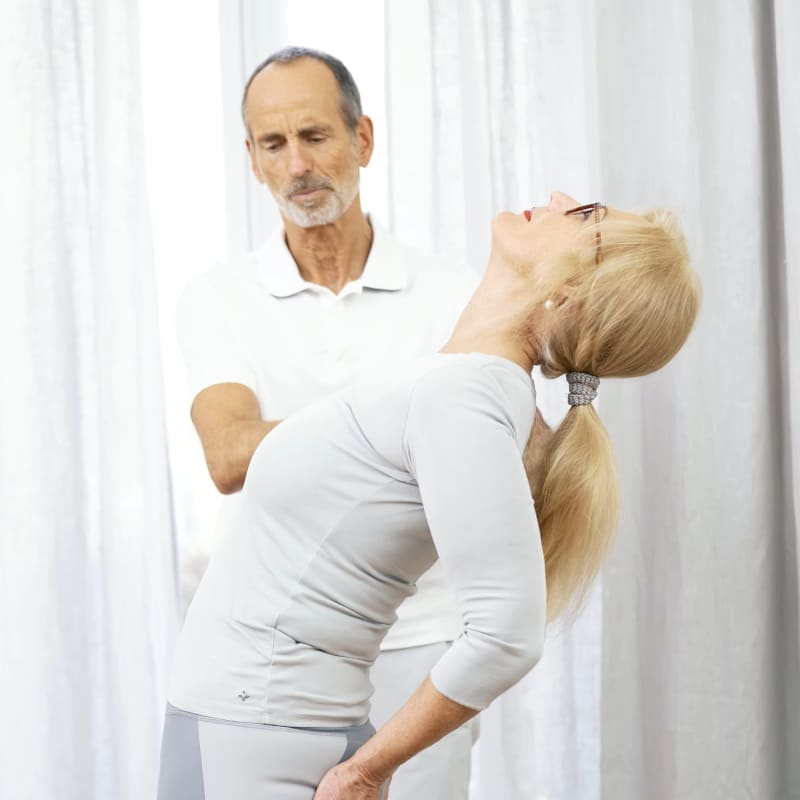
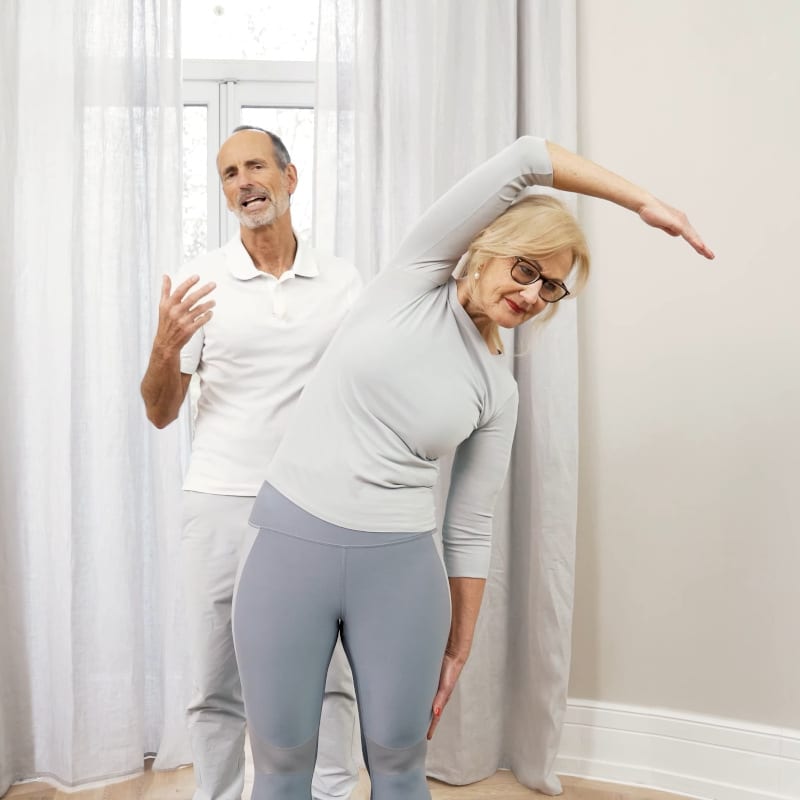
    It’s very important that you keep your shoulders and pelvis facing forward; don’t rotate or go into a pelvic tilt.

    • Hold for about 2 to 2.5 minutes.
    • Slowly come back to a standing position and repeat on the other side.
    Ina's arms are raised horizontal to her shoulders and Roland Liebscher-Bracht is helping her rotate her upper body to the right.

    Lumbar Rotation

    • Anchor your feet so that your toes are pointing straight.
    • Raise both arms to the side until they are horizontal to your shoulders.
    • Rotate your upper body to the left, leading with your right arm. 
    • Turn further into the rotation until you reach between 8 and 9 on your personal pain scale.
    • Hold for about 2 minutes.
    • Slowly come back to a neutral position and repeat on the other side.

    Next Step? Get on a Routine.

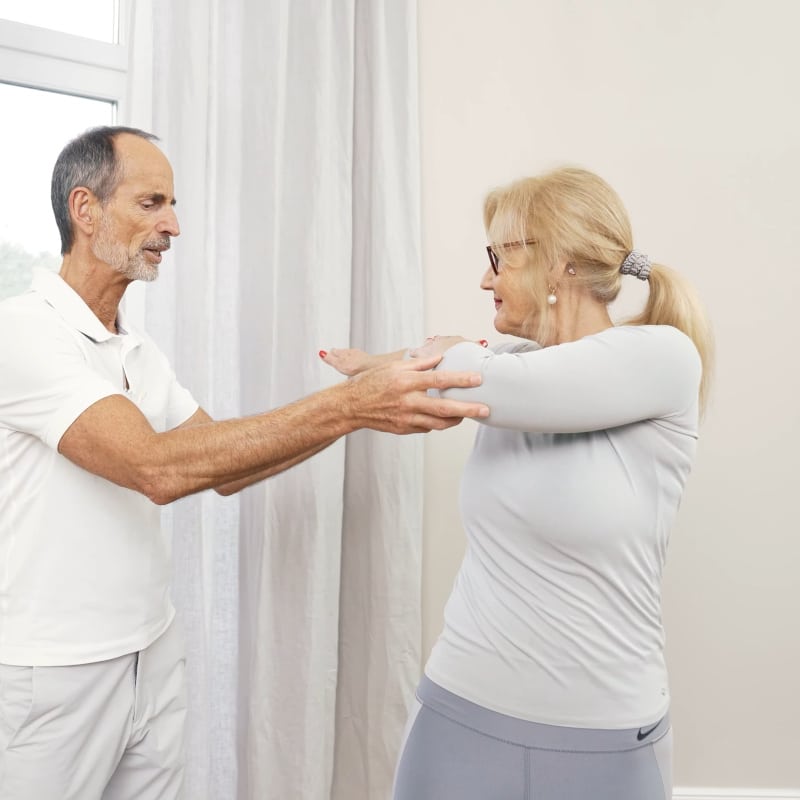
    Perform our spinal stenosis exercises for an initial sprint of 6 days a week for 3 weeks. When the sprint is over, adjust your exercise frequency according to how your back and legs feel.

    Fight Pain with Information.

    Roland Liebscher-Bracht is performing a pain-free exercise.

    Subscribe to The Pain Relief Advisor

    Sign up for our free newsletter and discover how to manage your pain yourself. Every two weeks, we’ll deliver follow-along videos and articles to your inbox.

    Did this contribution help you?

    Then we would be happy if you shared it with your friends: