Foam Roller Exercises for the Hip
Body Part:
Hip
Equipment:
Foam Roller, Massage Ball
Level:
Beginner
Body Part:
Hip
Equipment:
Foam Roller, Massage Ball
Level:
Beginner
Does your hip hurt? Or do you even have osteoarthritis in your hip? Then the following foam rolling exercise routine will certainly help!
In a sense, the phrase ‘osteoarthritis pain’ is actually a contradiction in terms, because it’s not the osteoarthritis itself which causes your pain. In effect, it’s the build-up of muscular fascial tension that leads to osteoarthritis. This gradual process is also damaging and hence causes your body to feel pain.
The Liebscher & Bracht pain therapy aims at relieving this kind of pain in a natural way — without resorting to operations or medication. If done properly and continuously, our exercises can alleviate symptoms and prevent further pain. Give it a try!
Even though each exercise will focus on just one side – the right or left – you should apply the exercise instructions to whichever side is actually giving you trouble.

Sign up for our free newsletter and discover how to manage your pain yourself. Every two weeks, we’ll deliver follow-along videos and articles to your inbox.
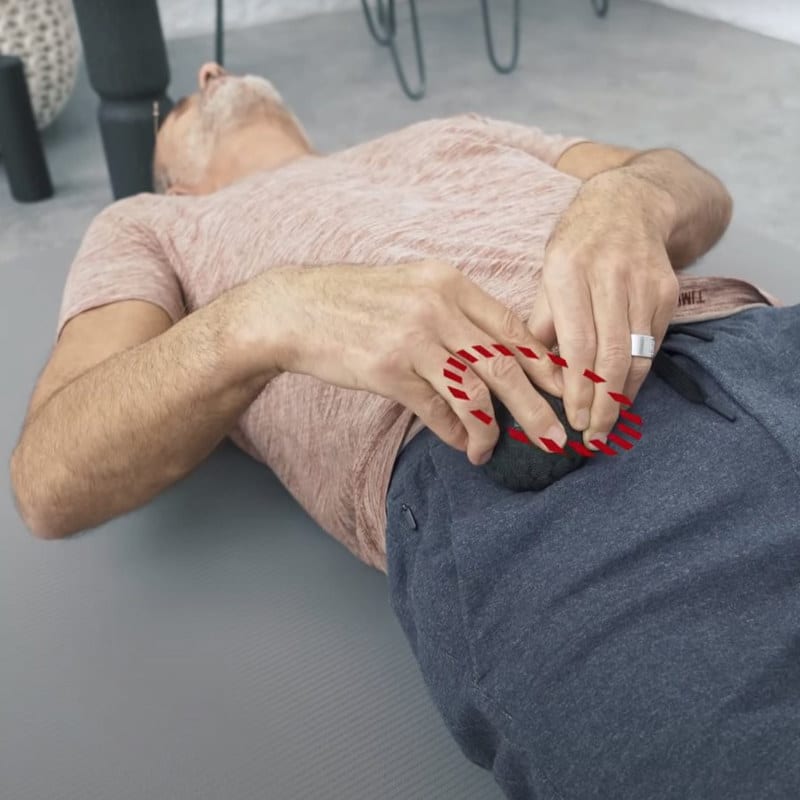
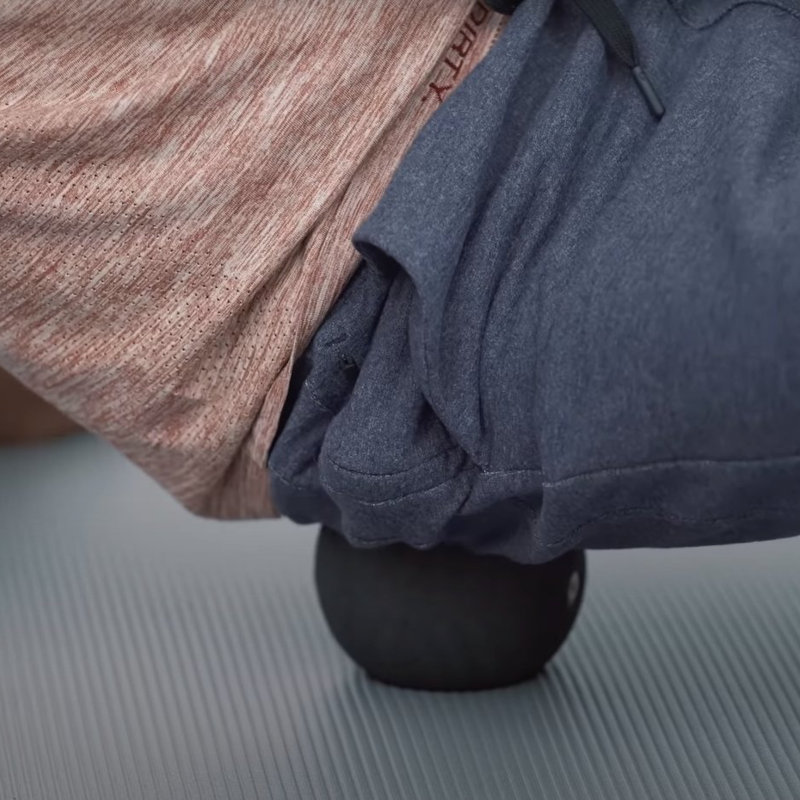
We’ll start off using the mini massage ball from our foam rolling massage set.
Just lie down on your back and use your fingers (on the right-hand side) to feel for your ilium bone (SIAS). This is the protruding hip bone which can be found sticking out at the side of your body around waist height. And if you wear jeans, it’s almost exactly at the height of that small “hip pocket” (watch pocket).
From there, just move your fingers in and down by around two centimeters. At this point, you need to take your time to find the most sensitive spot. Then use the mini ball (held in the fingers of both hands) to massage this area very slowly. Do this by rolling the ball around this area in small, very tight spirals. Use intense pressure while you do this – but keep just below your personal pain threshold of ten.
Just keep rolling for a moment, but also notice any place where the sensitivity is even higher. You should try to dwell on those particular spots. Don’t roll too fast, and keep up the highest possible contact pressure.
This pressure should only be restricted by the need to keep your pain level below ten. You should still be able to breathe calmly, and should not have to tense or brace yourself against this pain. If it gets rather too sensitive, then just ease off the pressure a little.
We use this exercise to relax an important part your musculature, the large thigh extensor, or thigh muscle which extends down to the knee. It’s this muscle which is partly responsible for exerting too much pressure on your hip joint – and thus also for your osteoarthritis. If we can get this muscle to relax a little, your hip joint will feel better and your pain will be reduced.
You’ll also notice that the longer you do this, the less sensitivity there is. This means that the muscle tension is already beginning to reduce, which is what we want to achieve.
For this exercise, you should sit up on the floor with your left leg extended, and your right leg bent at the knee and tucked underneath your other leg.
You’re feeling for a sensitive spot on your right inner thigh, which you’ll find at about crotch height. Then apply the mini massage ball to that spot. If you can manage to sit up while you do this, you can use two hands for the massage. Otherwise, you’ll have to support yourself with one hand, and use the mini massage ball with the other.
Once again, you need to use a lot of pressure. And if you find this difficult with one hand, then lie down and use both hands to massage this spot to reduce the muscular tension.
You should be turning very small spirals again, and keeping the pressure on. The muscle you are targeting now is the hip flexor. This very large muscle is mostly much too short because of the amount of sitting we all do. The hip flexor muscle extends right through the entire abdominal cavity to your spine.
Your hip flexor extends its pull from down at your inner thigh, through your pelvis, and on to the back of the spine. Your hip joint sits in between. And if your hip flexor muscle is too short, it just increases the pressure on the hip joint. And once again, this pressure is partly responsible for your osteoarthritis pain.
This hip pain increasingly restricts your movements. So as a result, the cartilage is no longer properly supplied with nutrients – because the angles and extent of your movements are getting less and less. So squeezing out the cartilage and then relaxing again allows this area to soak up fresh nutrients. This all helps to refresh and rejuvenate this area, reducing your pain in the process.
So your rolling massage should be nice and slow, but keeping up the pressure. This will have the beneficial effect of reducing the muscular tensions here.
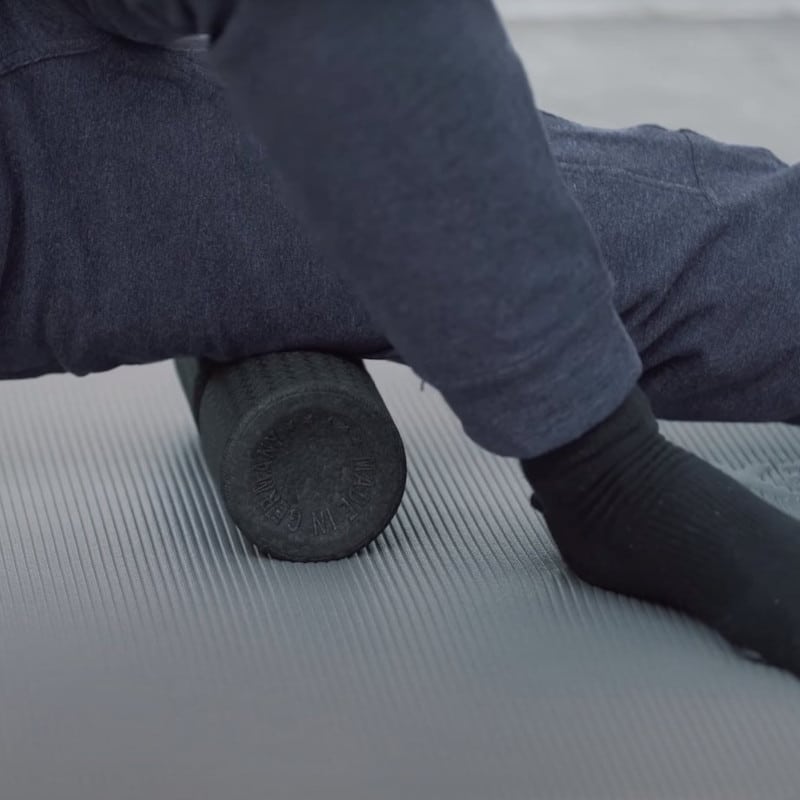
For this next exercise, you will need to use a different hip foam roller. This time, you should use the midi foam roller from our foam rolling massage set, which will be in contact with the outside of your thigh. The circumferential groove of this roller ensures that the pressure is applied to the sides, which makes the massage less painful since you don’t directly massage the bone underneath.
Take care now: Because the outside area you will be rolling extends up into the pelvis – an area which is extremely sensitive. So it’s best to get an impression of what you’ll be doing before you start.
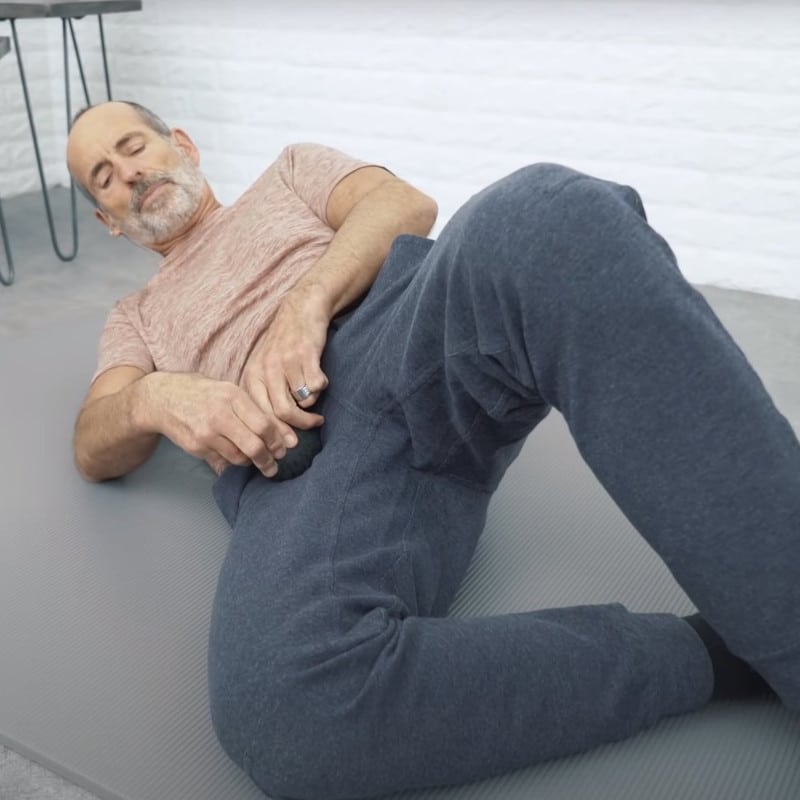
Place the roller beneath your outer thigh, and swing your other leg over and down to the floor. This should give you some stability once you start rolling. Though this position is a little tricky, it’s the best option because you can let gravity do all the work while you focus on moving over the area little by little. The midi roller needs to be down at the lower end of your thigh so that you can roll upwards from that point.
If you simply can’t manage this lying on the floor, the alternative is to sit in a chair and just use your hands to roll the same area.
You will be aiming to roll the thick band of muscular tissue which runs from the pelvis all the way down your outer thigh to the knee. Rolling slowly, and keeping the pressure on, move slowly upwards from just above the knee.
As you roll, all the debris and metabolic waste lodged in this area will be squeezed out of the fasciae. And once the roller passes over, capillary action will refresh everything by soaking up a fresh supply of nutrients.
Rolling on very, very slowly, you can use the precise positioning of your trunk and pelvis to roll as much of the most sensitive areas as you can. Keep the pressure high, but always remember to stay below ten on your personal pain scale.
You will eventually reach an outer thigh area where you will notice a bulge. This is where your thigh bone protrudes, and in anatomy this area is called the greater trochanter. Here, several important muscle attachments occur, and so it’s usually very sensitive. But don’t let that put you off. You could perhaps ease the pressure a little by lifting yourself up slightly, but still continue to roll over this spot.
While rolling, just remind yourself that it is this pain which will bring healing. To roll without pressure would be counterproductive – but always keep your pain levels below that important threshold of ten.
Once you have passed the trochanter bulge, your body contour moves inward again. This area too can be sensitive, but keep up the pressure and keep rolling on. You will be rolling away the established muscle tensions, which has important implications for your joint health. You will gain mobility, stop the wear and tear process, allow your body cartilage to regenerate, and thus improve your osteoarthritis.
Continue rolling slowly along the iliac bone until you finally get to what is called the iliac edge, or iliac crest. This protruding bone at the hip is where your rolling should stop.
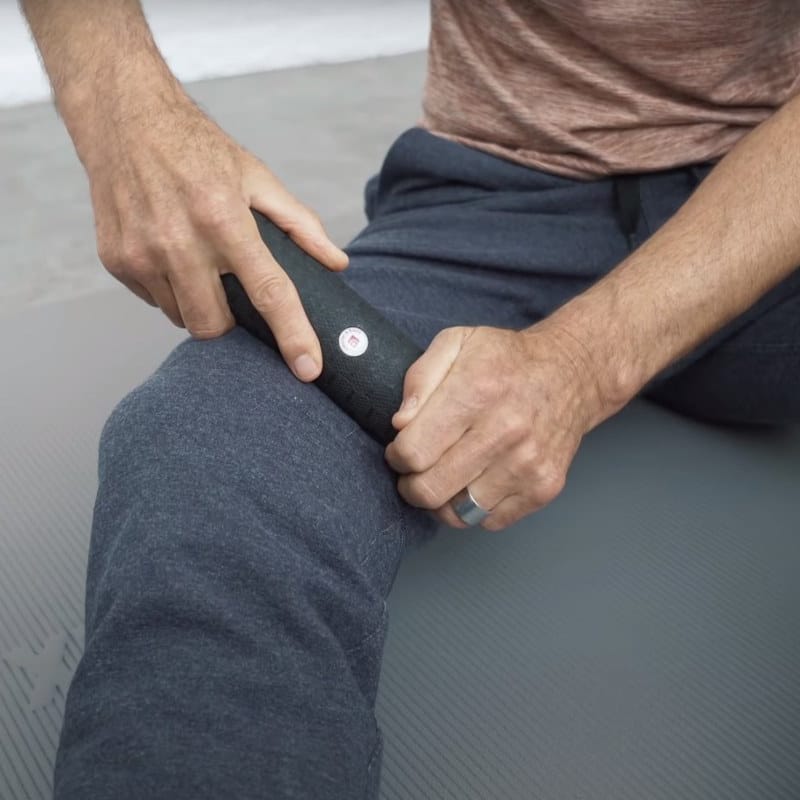
This next exercise now focuses on your inner thigh area.
You will need to sit on the floor again and use a different hip foam roller. The best one to use for this foam rolling massage is our mini foam roller. This is small enough to hold comfortably in both hands, yet firm enough to put pressure on the adductor (thigh-pulling) muscles of your inner thigh.
Having completed a foam roller massage on the outside and inside of your thigh, we now move on to focus on the large muscle at the front of your thigh.
This exercise uses the midi foam roller again, and now it should be placed under your right front thigh. Keep your left leg in contact with the mat for balance, and spread your arms out in front so you can lean and support your body weight.

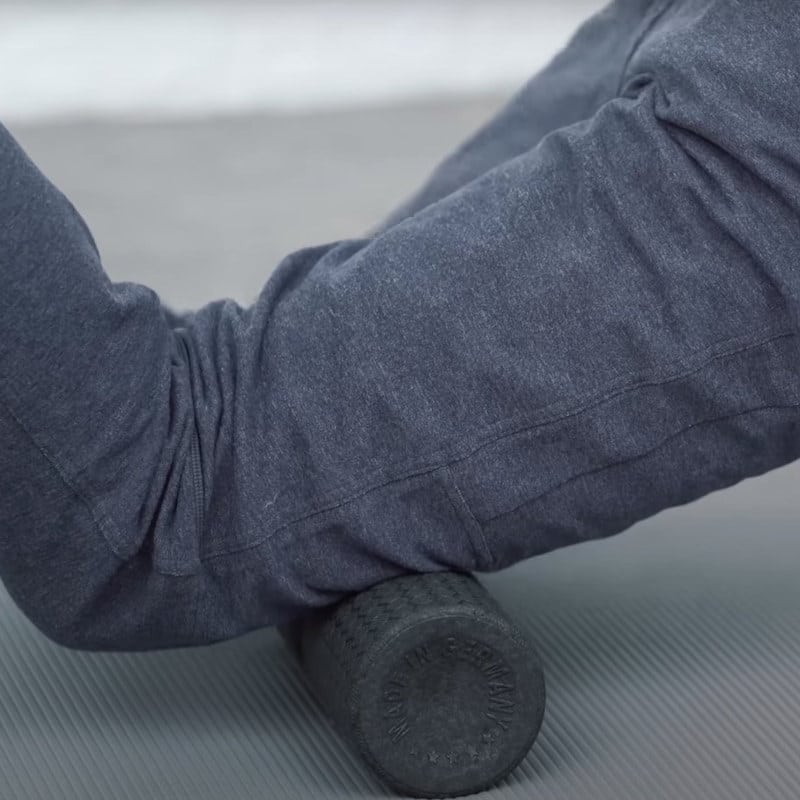
This next exercise continues with the midi foam roller and treats the important musculature at the back of your thigh.
This final hip foam roller exercise uses the midi massage ball.
Dwell on these upper areas for some time to get the most benefit from this exercise. Once you have thoroughly rolled and massaged this area, your exercise, and in fact the whole sequence, is now be complete. Keep exercising regularly to reap the most benefits from this exercise sequence!
Sign up for our free newsletter and discover how to manage your pain yourself. Every two weeks, we’ll deliver follow-along videos and articles to your inbox.
Then we would be happy if you shared it with your friends: