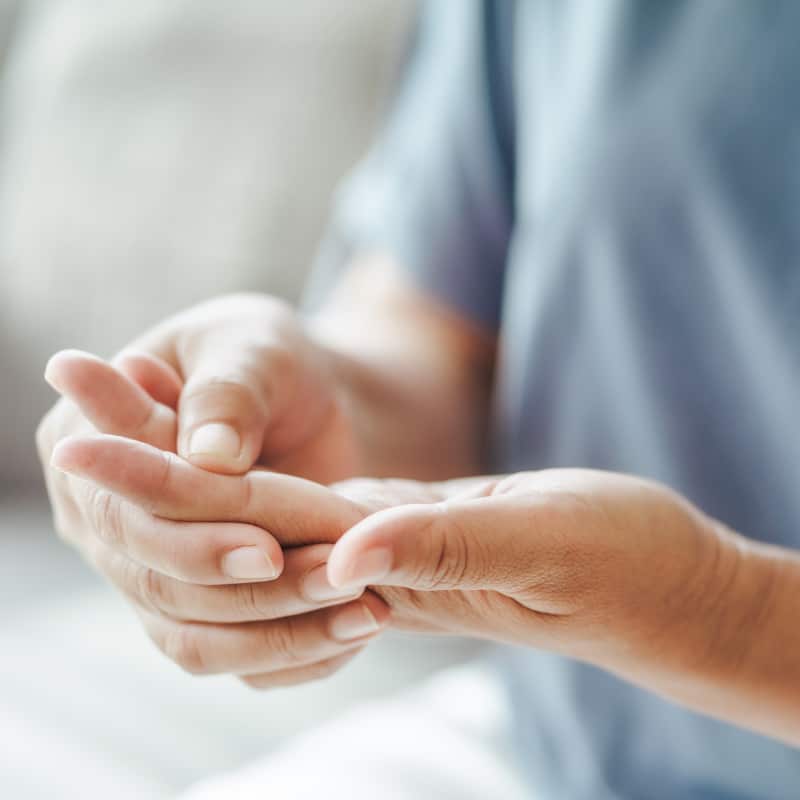
treatment for rheumatoid arthritis in fingers
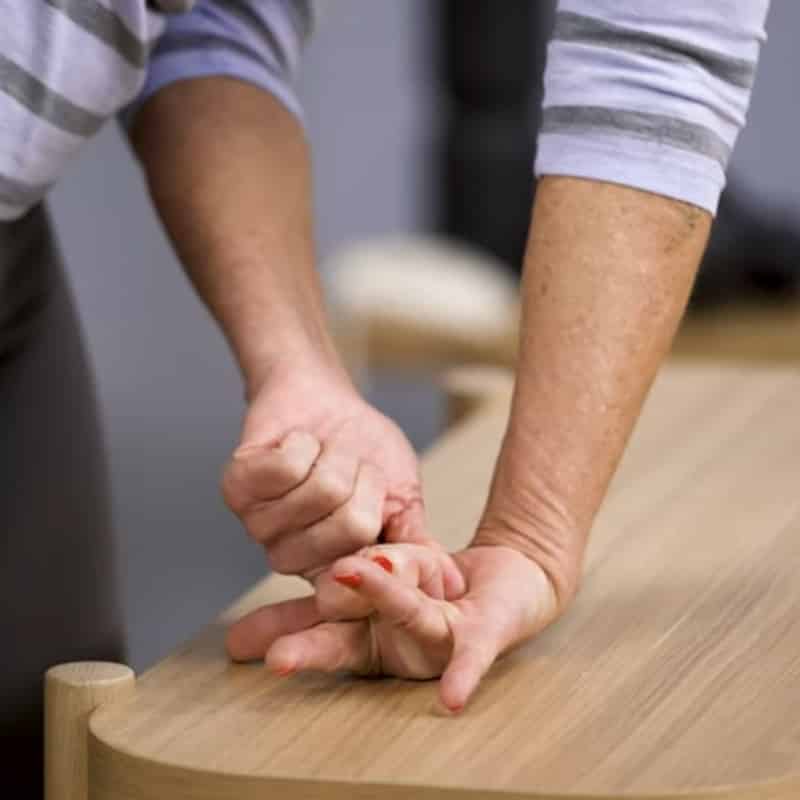
Body Part:
Fingers
Equipment:
Mini Massage Ball
Level:
Beginner
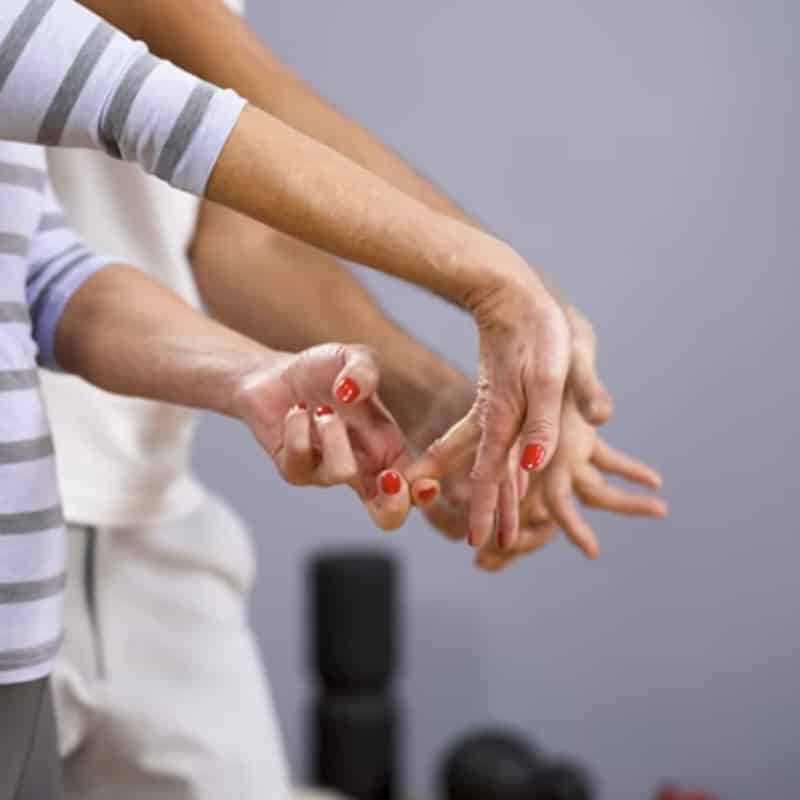
Body Part:
Fingers
Equipment:
Mini Massage Ball
Level:
Beginner
We put our fingers to work the moment we wake up, and we keep our digits busy until we crawl into bed and set the alarm for the next morning. The daily to-do list for our fingers seems endless: eating, brushing our teeth, getting dressed, tying our shoes, turning countless doorknobs, typing on keyboards, scrolling on our phones… And these jointy appendages don’t get weekends off or vacation time. If you have rheumatoid arthritis in your fingers, you know the limitations the condition puts on day-to-day activity. Even the simplest task is an uphill battle or can’t be carried out. Although there is no cure for rheumatoid arthritis, our 4-step exercise routine for the hand may be able to help relieve the pain and stiffness you’re experiencing. A review of medical literature suggests that hand exercises may have positive effects on the strength and function of hands affected by rheumatoid arthritis without aggravating the disease.1) If you’d like to start exercising now, scroll down and follow along with our video or the step-by-step instructions. Or, if you’d like to learn more about rheumatoid arthritis, keep reading.

Sign up for our free newsletter and discover how to manage your pain yourself. Every two weeks, we’ll deliver follow-along videos and articles to your inbox.

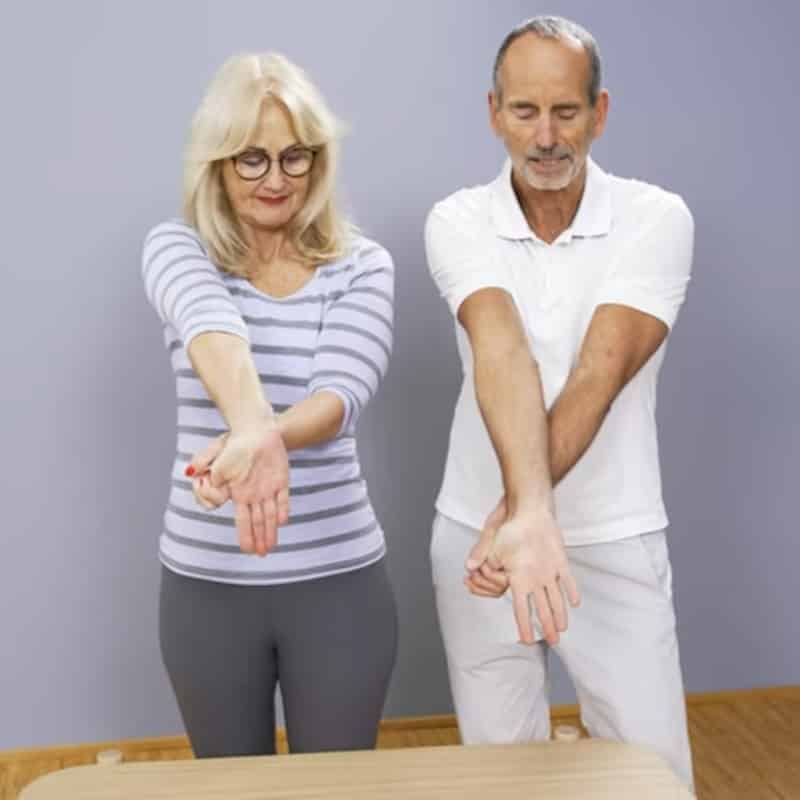
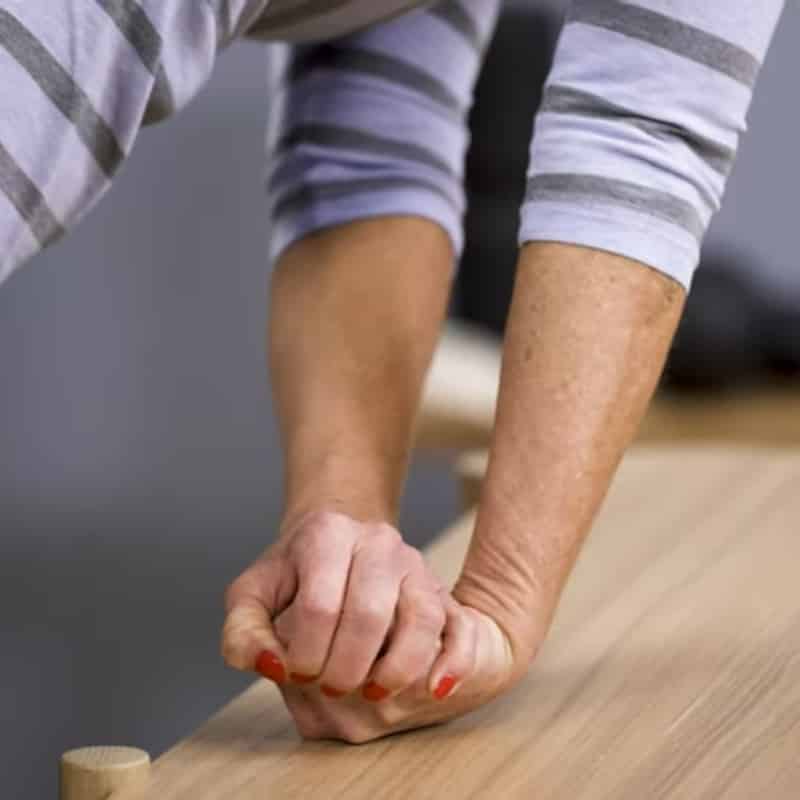
You can reduce pain in your swollen joints by exercising consistently. We recommend stretching 6 days a week and leaving one day for rest.
Sign up for our free newsletter and discover how to manage your pain yourself. Every two weeks, we’ll deliver follow-along videos and articles to your inbox.
Then we would be happy if you shared it with your friends:


 Patience
 Practice
 Professional tools
 Park the painkillers